1. Introduction
The intention of this workshop is to:
- ramp up your basic knowledge about cloud computing
- provision resources in Azure and to work with different Azure services in a hands-on session by achieving exercises
- be able to calculate the costs of the resources
- having a good time! :)
2. Key Facts
Title: Azure: Building up basic knowledge [Workshop]
Location: Graz, Smart City - Waagner-Biro Strasse 108
Date: 2022-09-29
meetup.com link: https://www.meetup.com/de-DE/microsoftdevelopergraz/events/288434666/
github.com repository: https://github.com/patkoch/azureworkshop
In yesterday's #Azure Workshop of the @msdevgraz we discussed #cloud fundamentals and had a hands-on session for provisioning Virtual Machines and #Serverless Services. Thx to all attendees making the workshop valuable :)
— Patrick Koch (@PK_Koch) September 30, 2022
With @berhir and @ironcev_ pic.twitter.com/4Rn5syomkY
3. Prerequisites
Just bring your own laptop, ensure a current browser is installed - you’ll get WiFi access and a power supply.
4. Exercises - Hands-on session
4.1 Create an Azure Virtual Machine and establish a connection to a File Share
This exercise is about to create an Azure Virtual Machine and to establish a connection to an Azure File Share by using PowerShell functions. The PowerShell functions mount the File Share and call a simple Windows Console Application, which is located at the File Share.
4.1.1 YouTube Tutorial
4.1.2 Manual - Step by Step Explanation
Starting point is the Azure Portal:
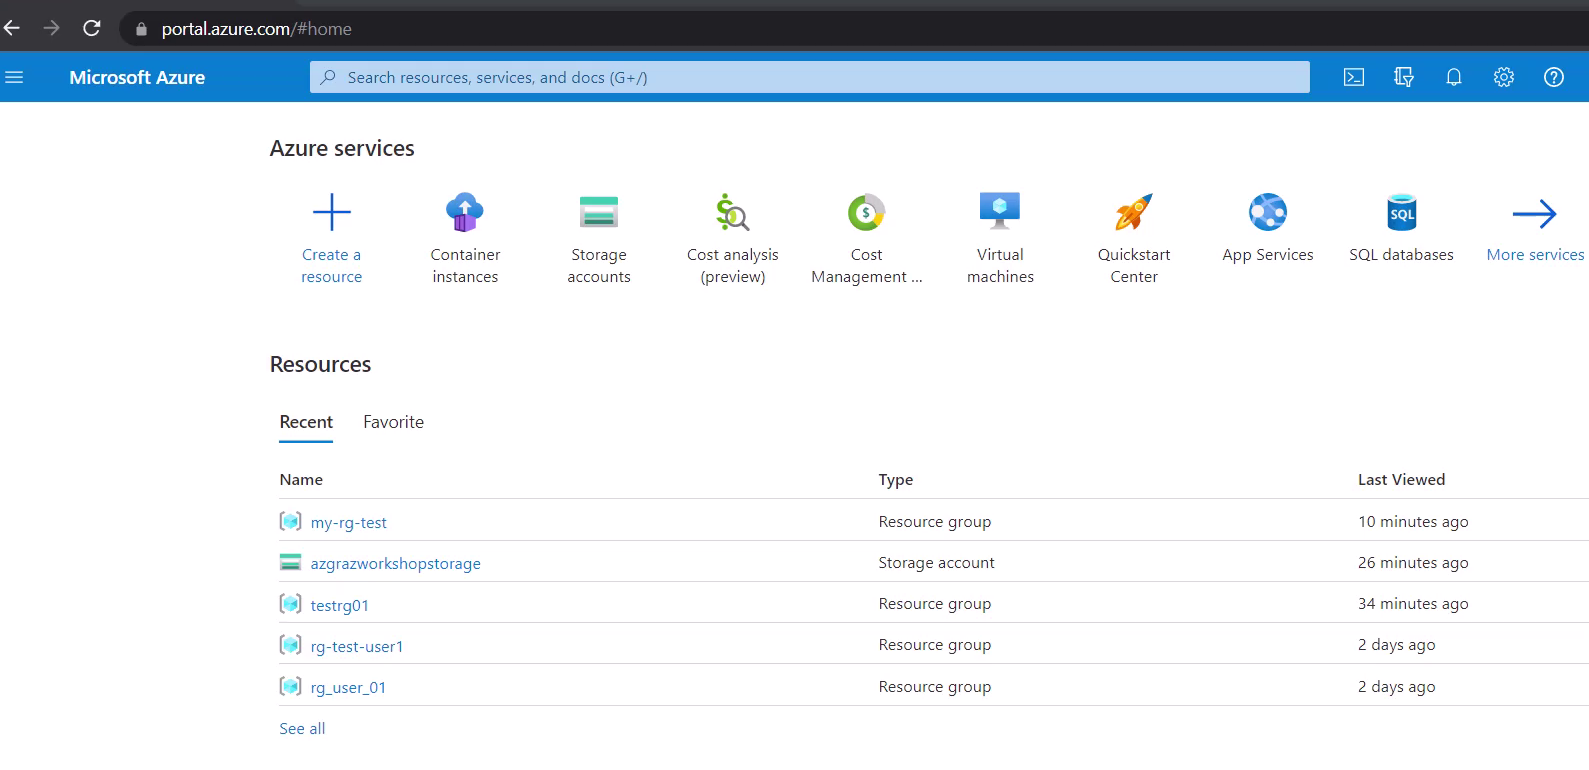
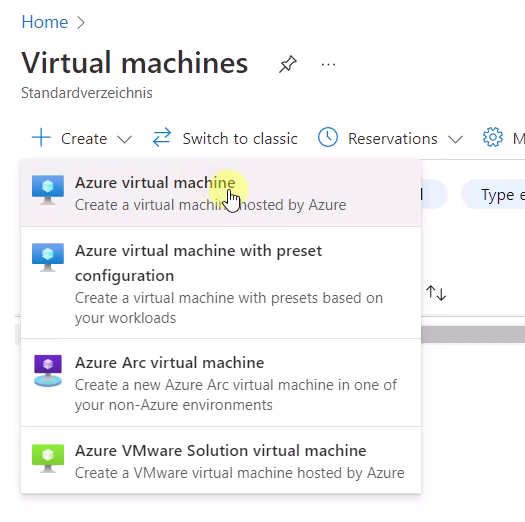
There choose “Virtual machines” or search for it in the search input field at the top:
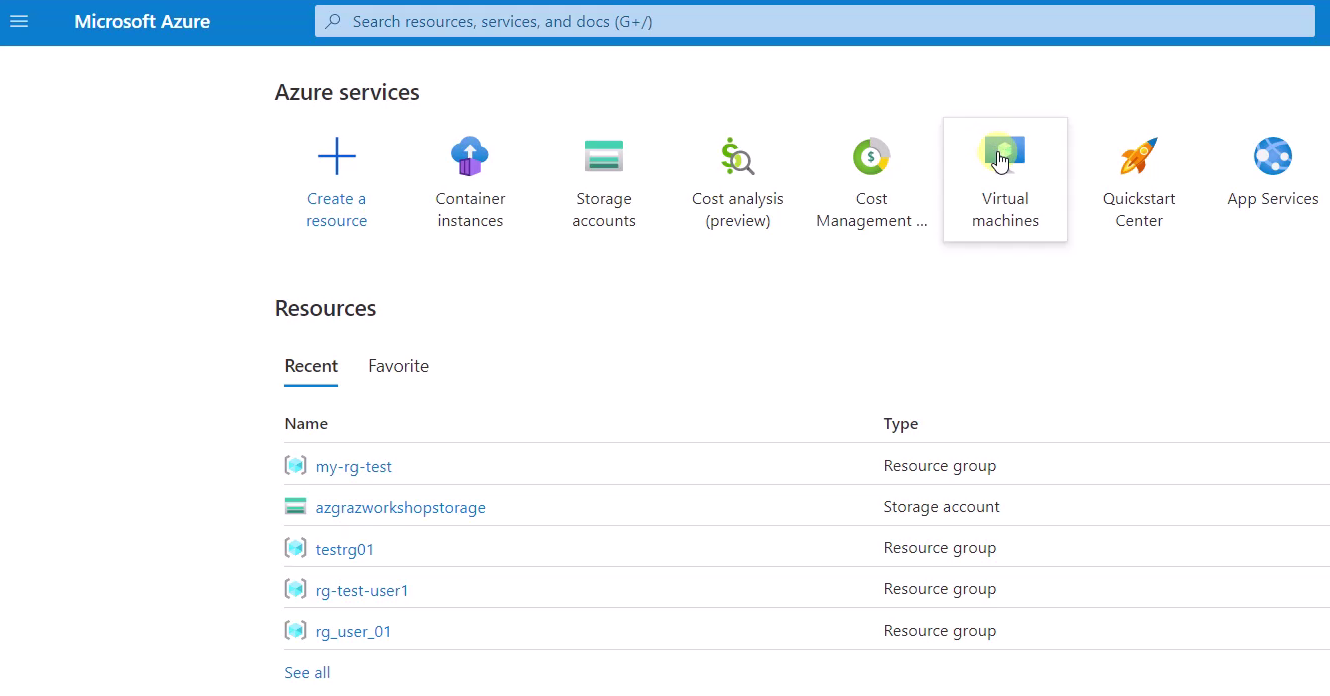
Select “Azure virtual machine”:
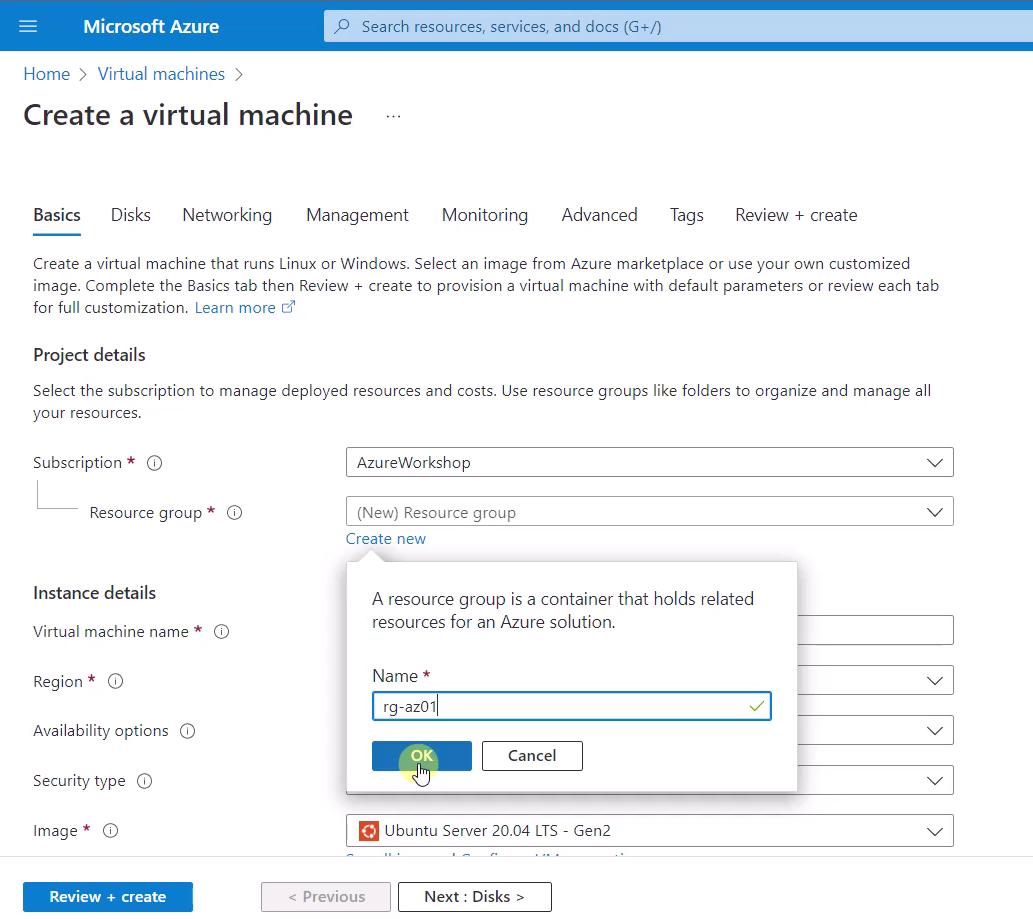
Now the form appears for defining the virtual machine. Create a new resource group, named “rg-azXX”, replace the “XX” with your “az” number, e.g. “01”. After that, confirm it with “OK”.
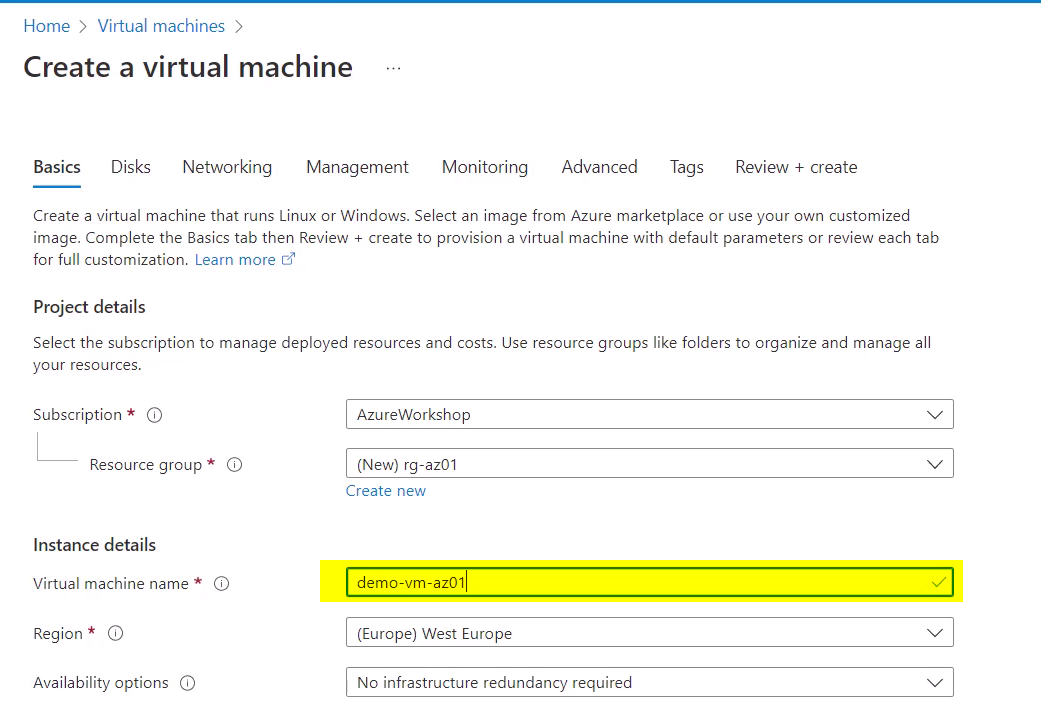
Define a name for the virtual machine. Name it like “demo-vm-azXX”. Again, replace the “XX” with your provided “az” number:
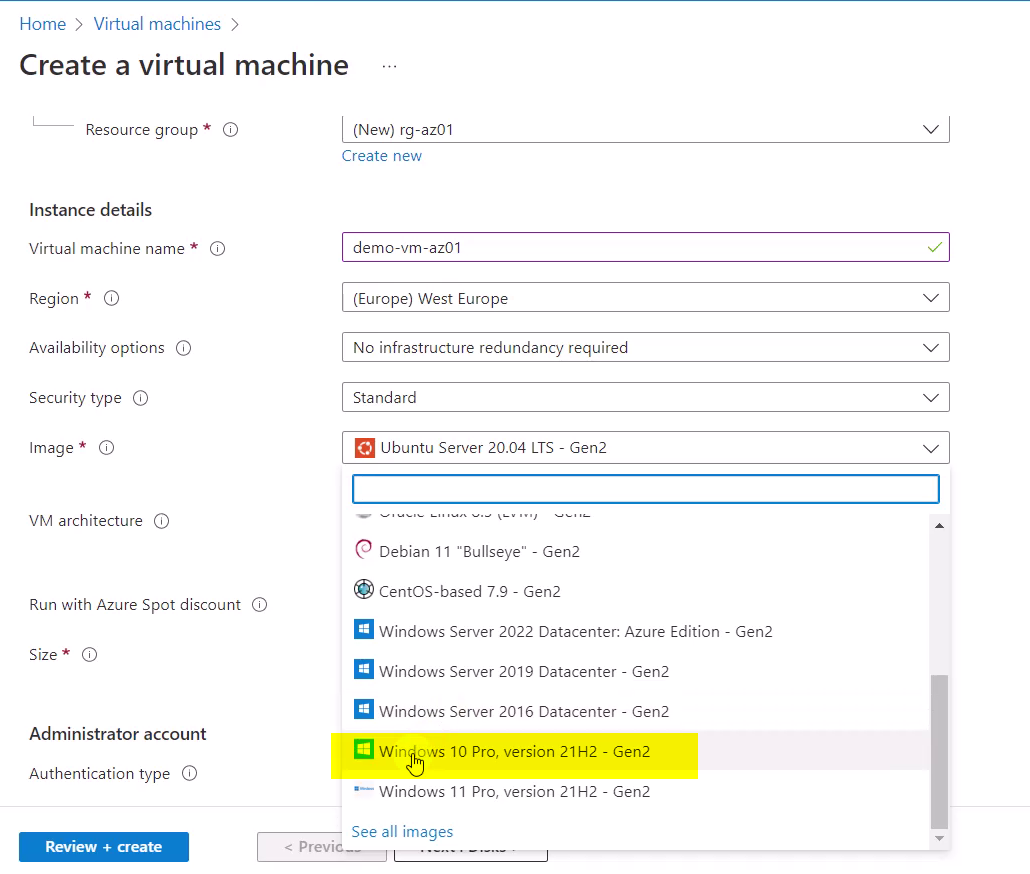
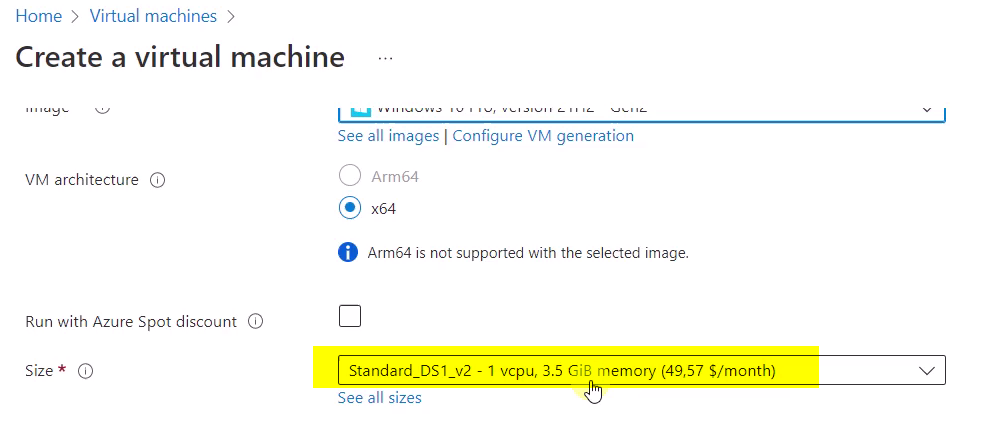
Select “Windows 10 Pro, version 21H2 - Gen2” as operating system:
Set following size for the virtual machine size:
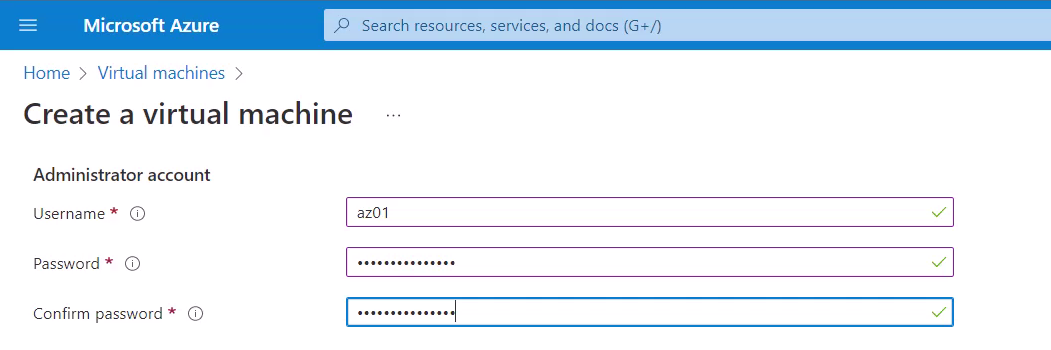
Provide credentials to the virtual machine, use “azXX” for the username, replace the “XX” with your “az” number. Enter a password of your choice and remember it.
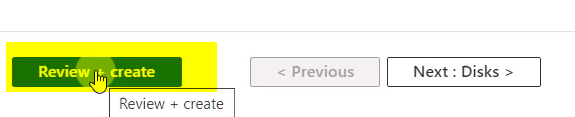
After that, click at “Review + create”:
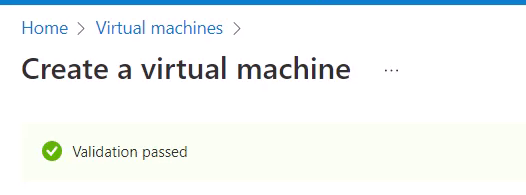
Wait until the validation has passed, after that, click at “Create”:
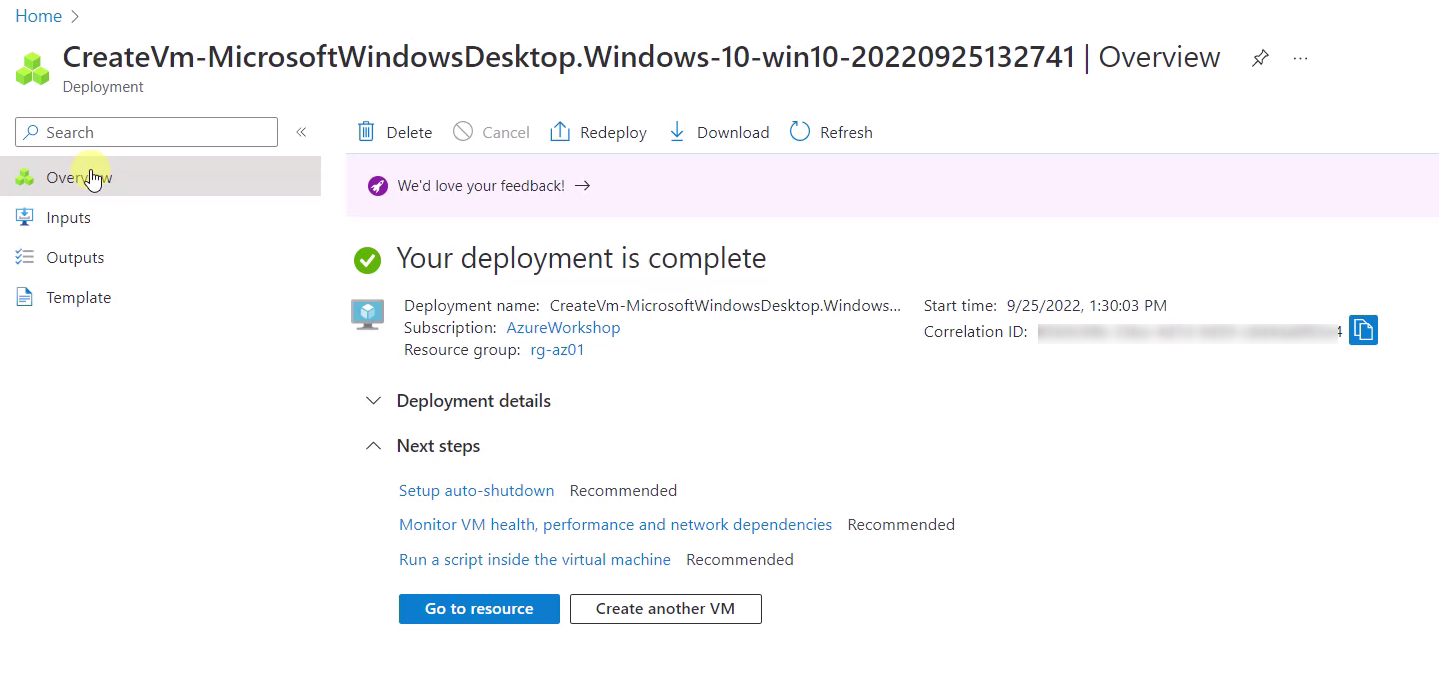
Wait until the deployment is complete:

After that, the virtual machine deployed.
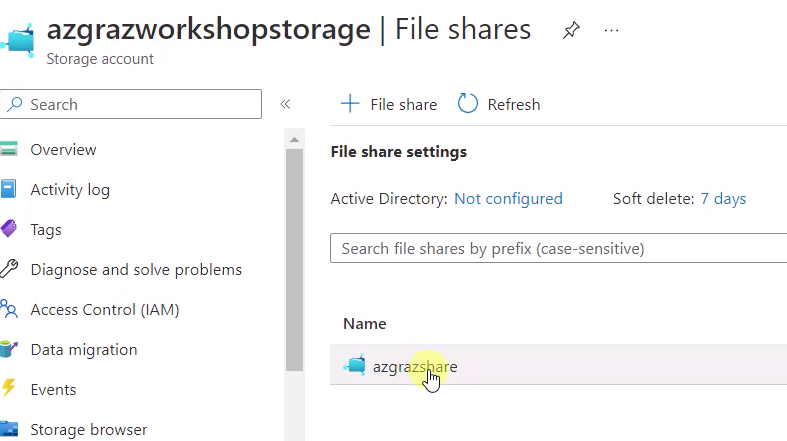
Switch to the Storage Account “azgrazworkshopstorage”. This includes a File Share named “azgrazworkshop”:
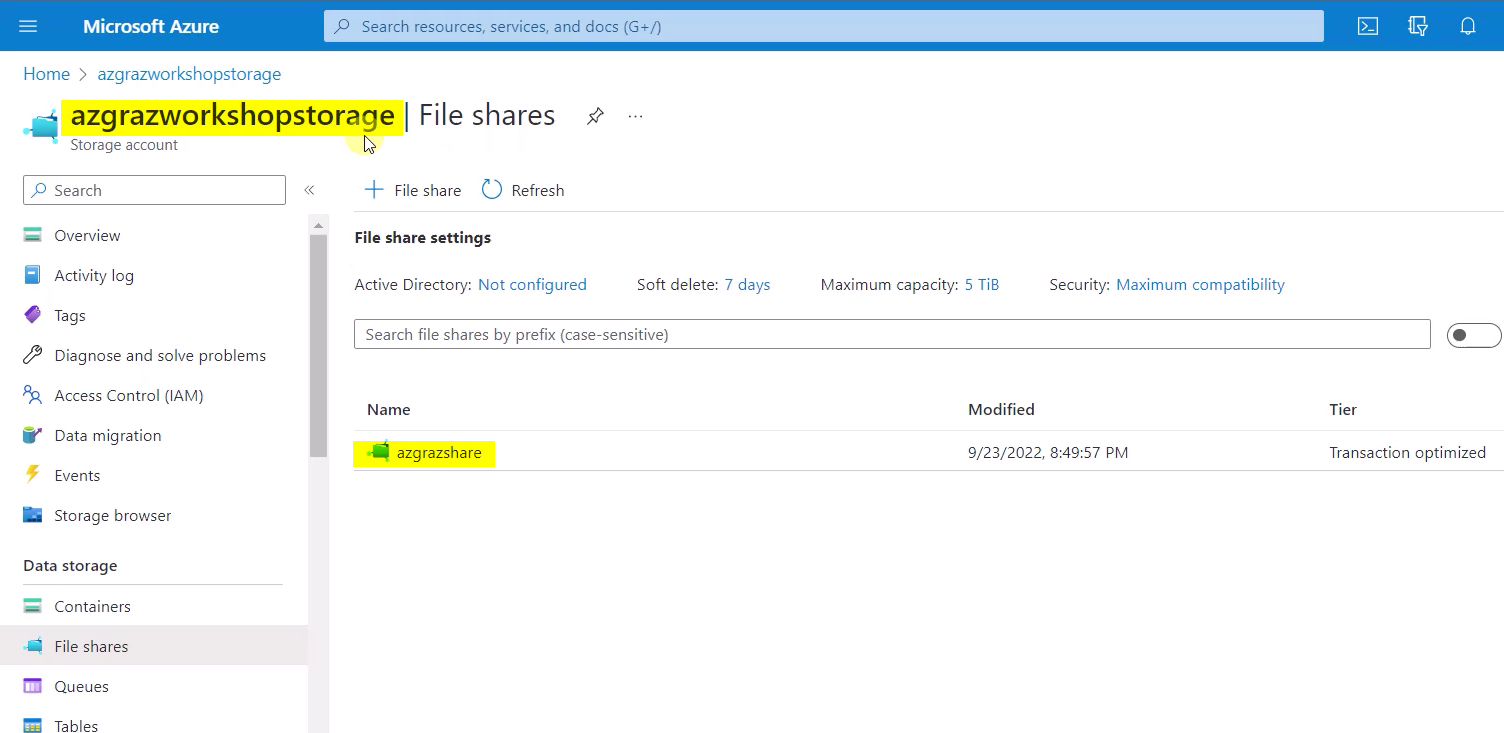
Click at “azgrazshare”:
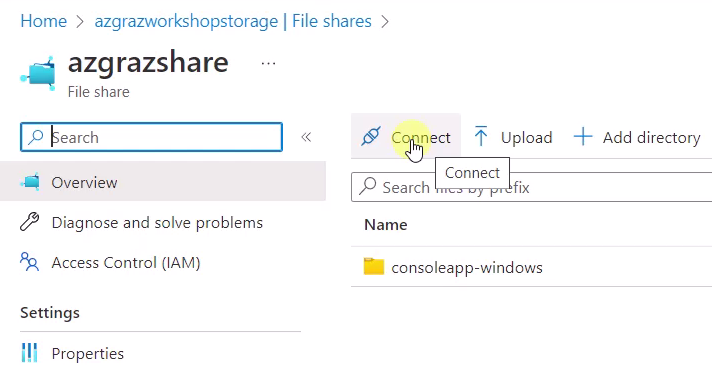
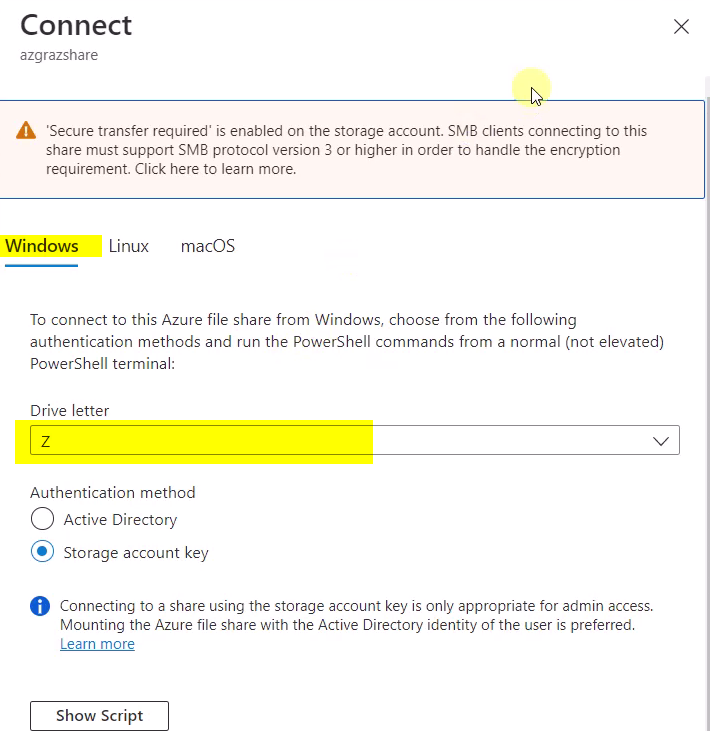
Click at “Connect”:
There choose “Windows” and a drive letter of your choice - in that case “Z”:
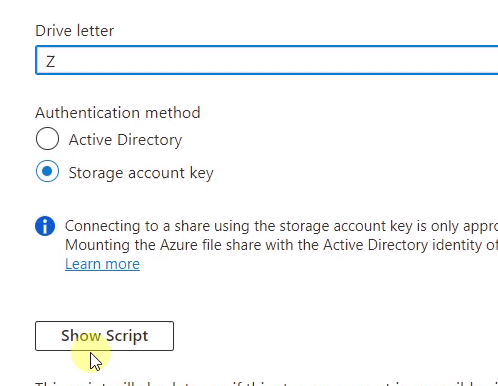
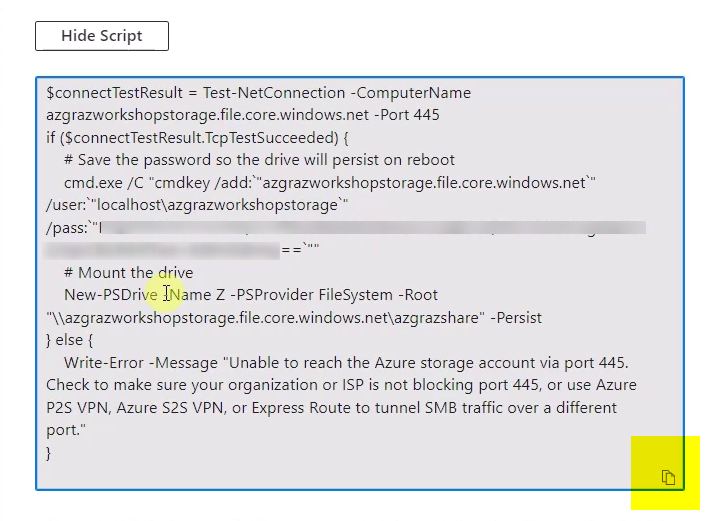
Select “Show Script” for getting the desired script, which establishes a connection to the File Share by using a PowerShell script:
Click at the icon in the right lower corner for copying the script:
Switch back to the Virtual Machine, on the left choose “Run command” and select “RunPowerShellScript”:
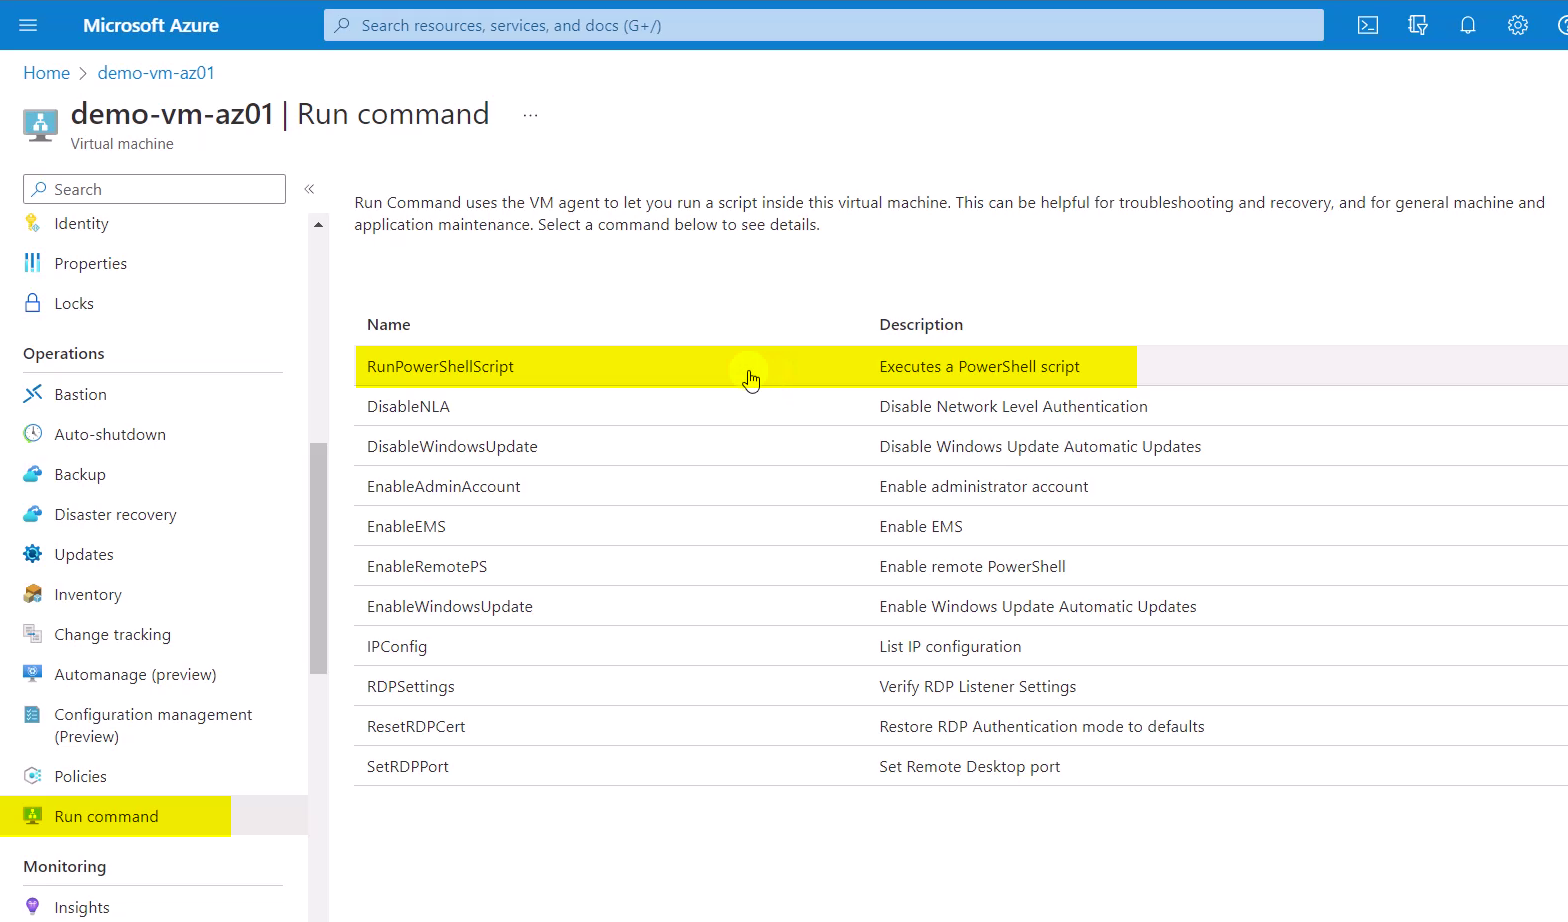
Paste the script and enter in addition line 11 for calling the executable:
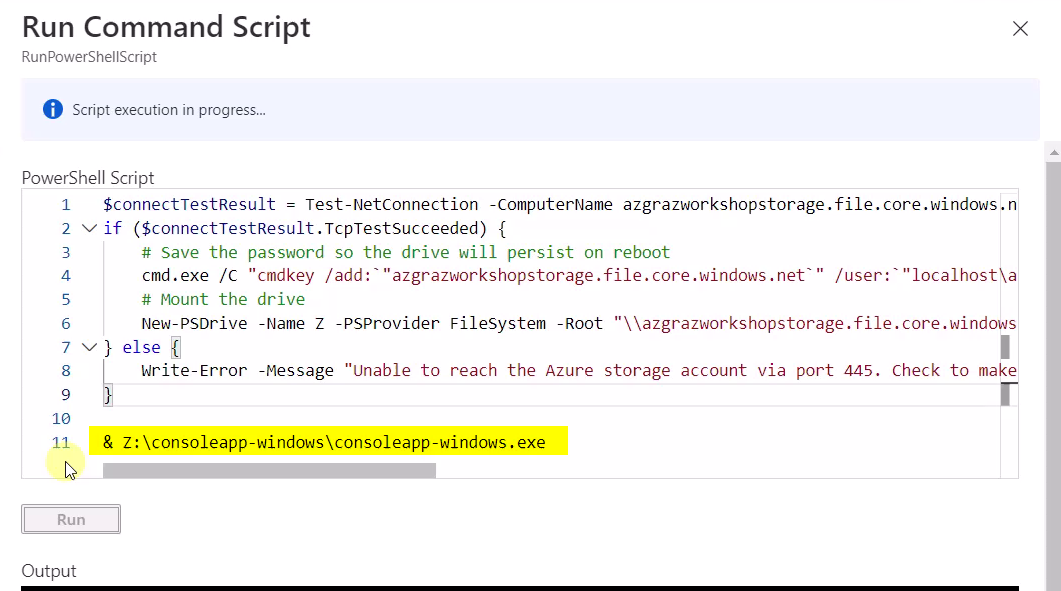
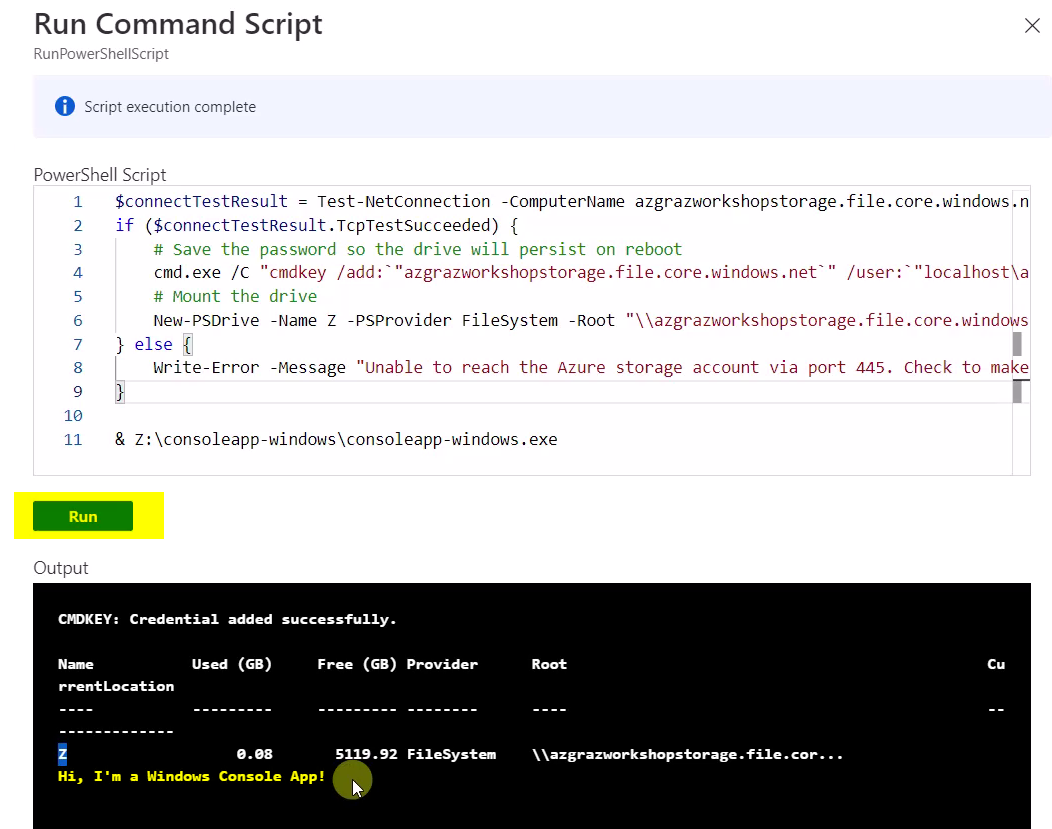
Finally, click at “Run” and wait for the exection:
4.2 Create an Azure Container Instance
This exercise is about to deploy Azure Container Instances using a Windows Container Image.
4.2.1 Manual - Step by Step Explanation
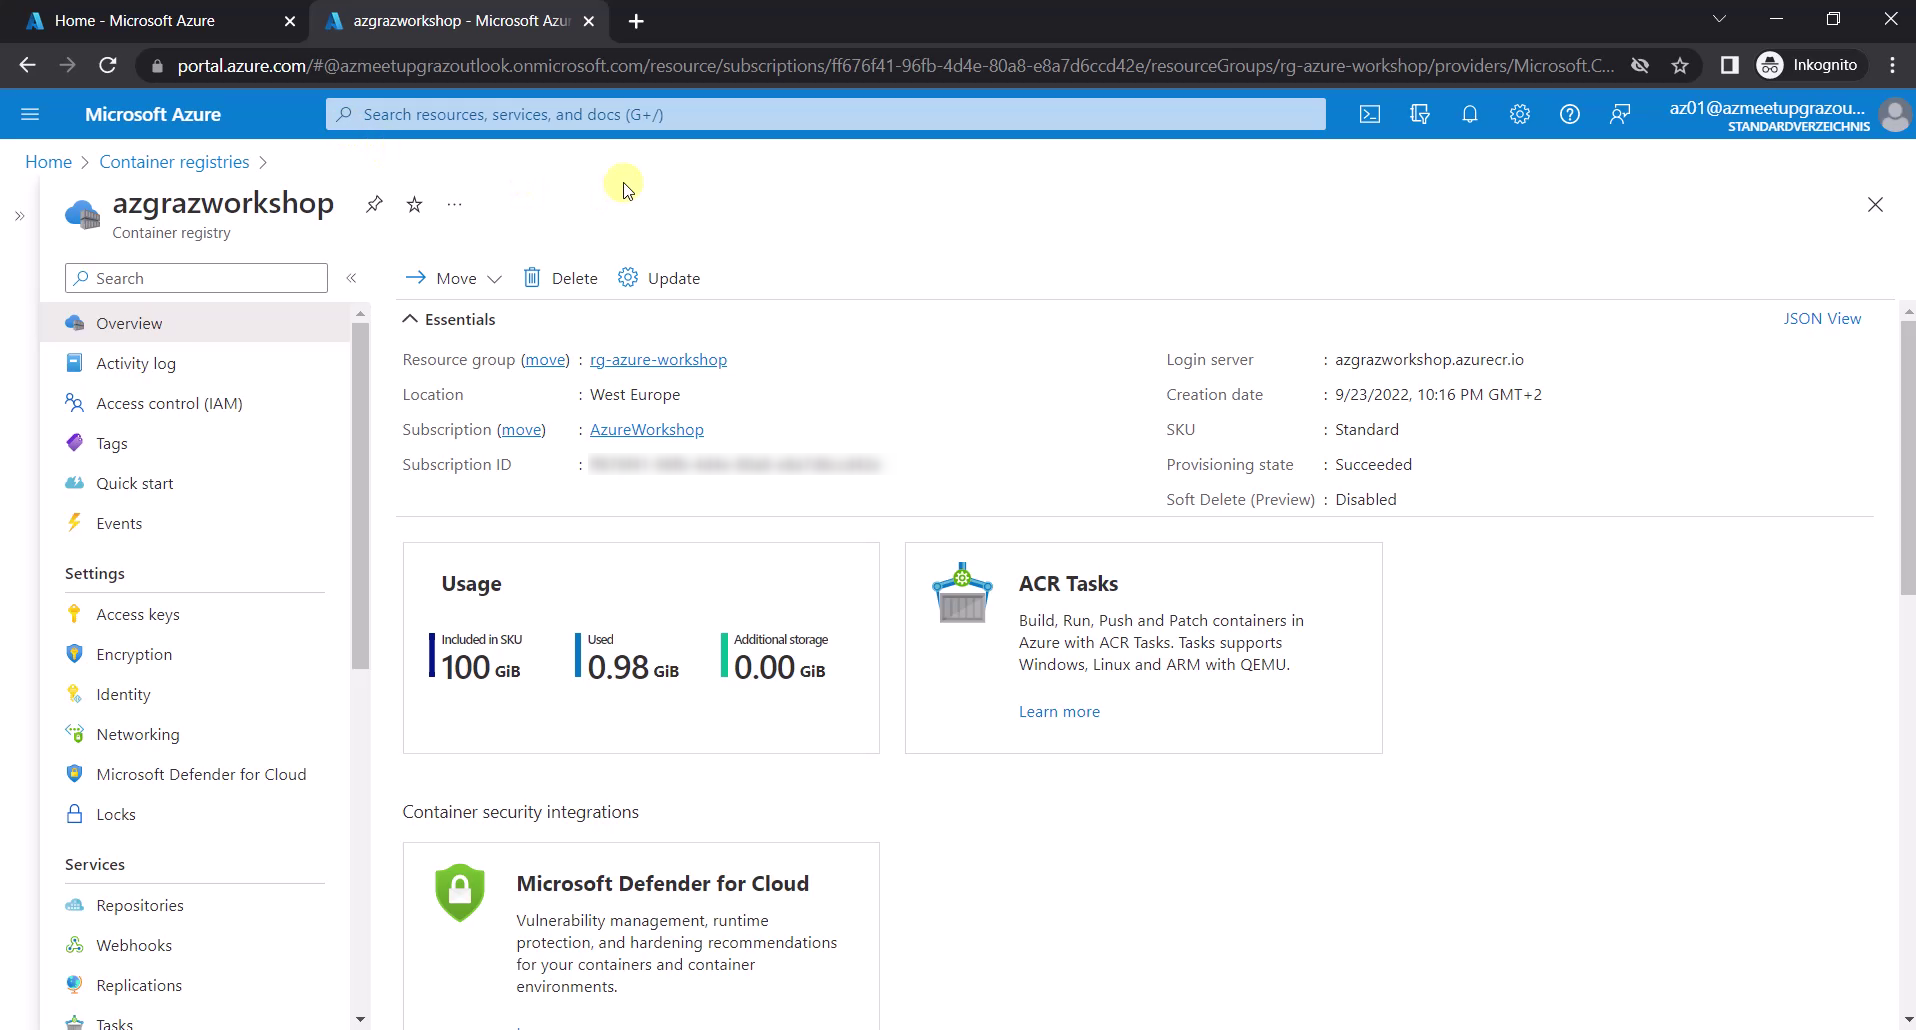
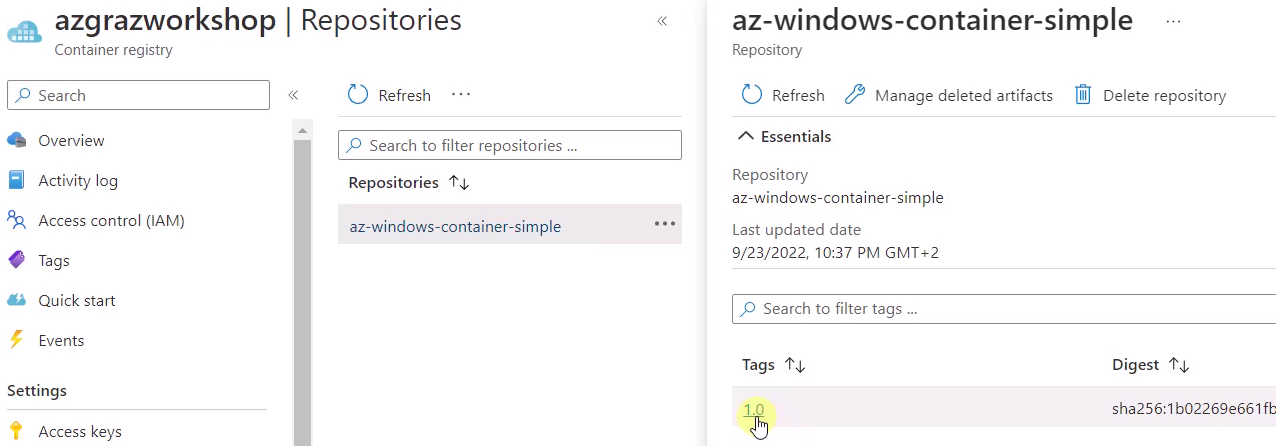
The source of the Azure Container Instance - the Container Image - is located at an Azure Container Registry named “azgrazworkshop”:
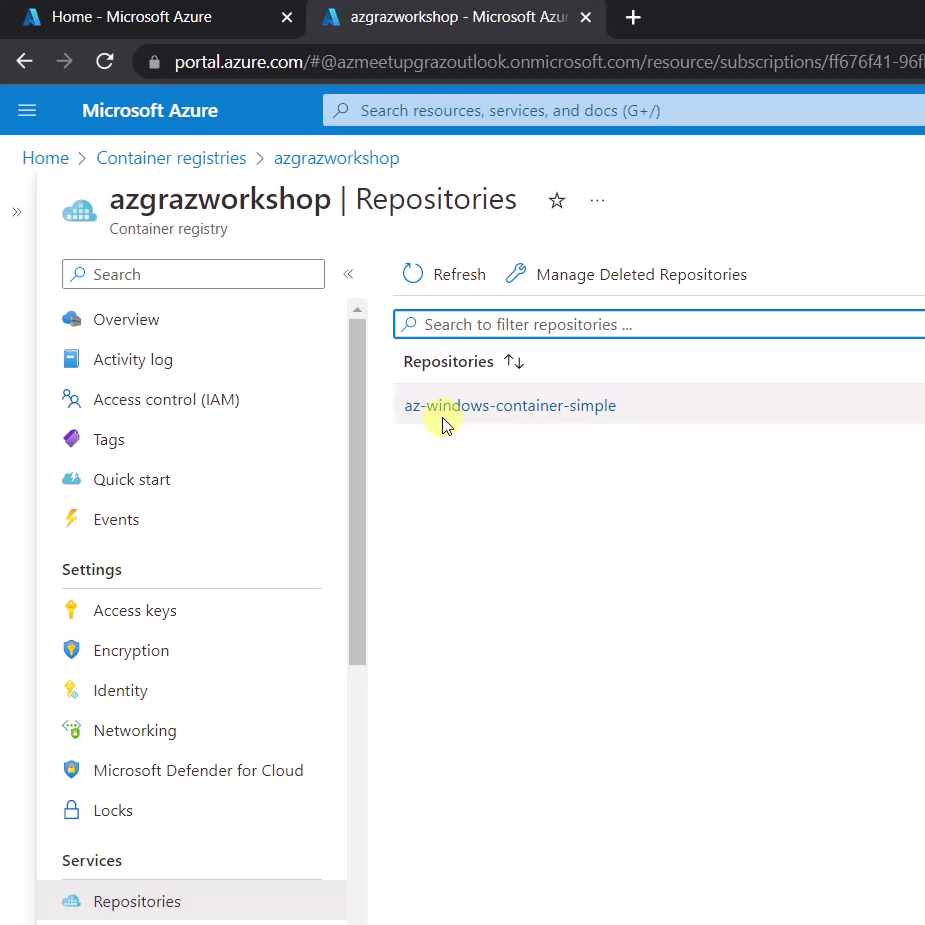
Click at “Repositories” and at “az-windows-container-simple”:
The tag of the Container is “1.0”:
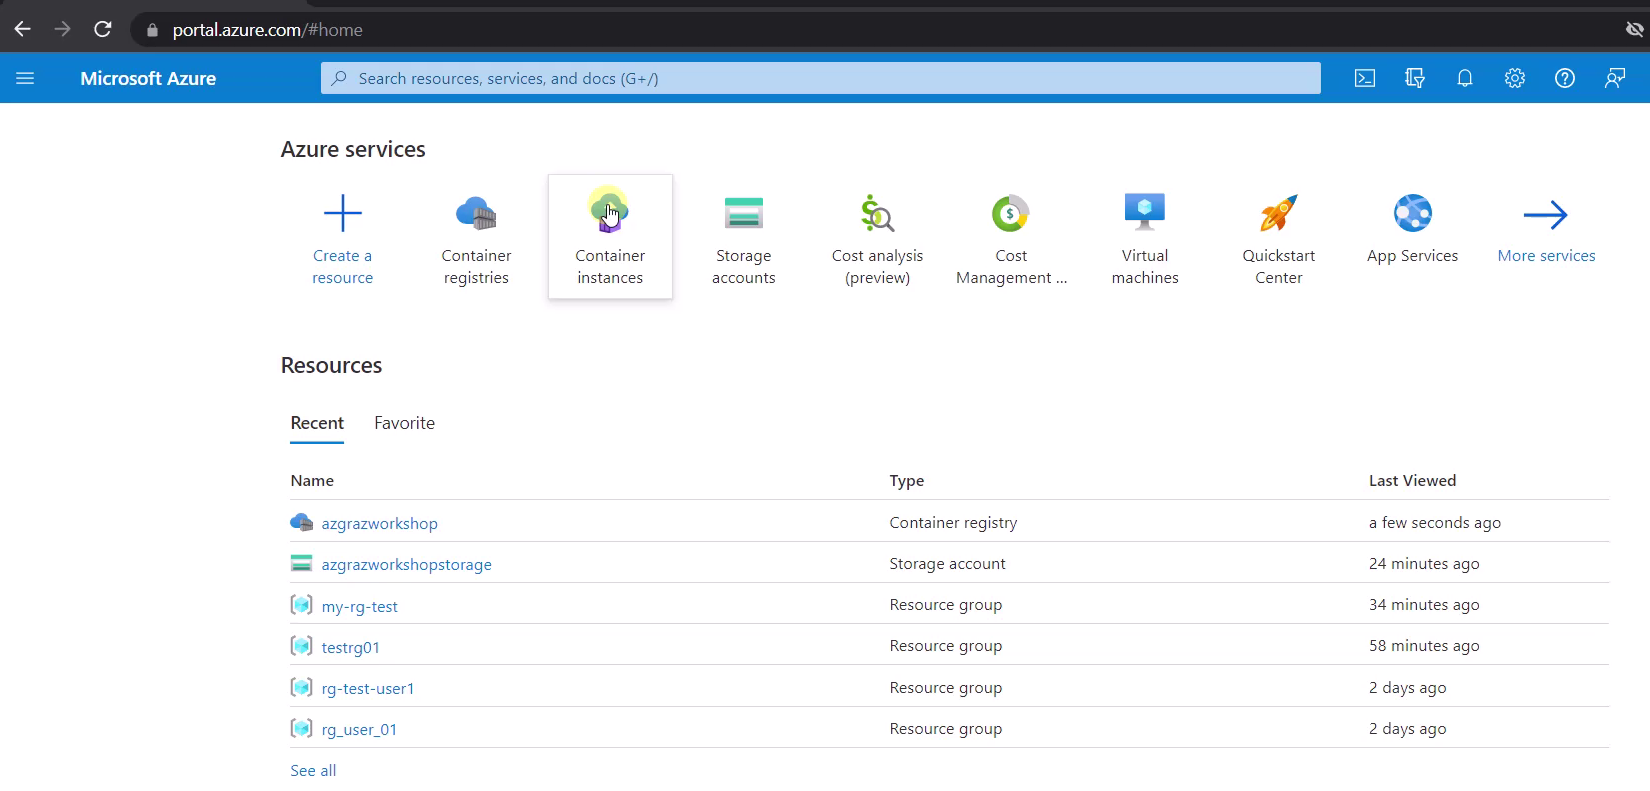
Switch back to the overview of the Azure Portal and click at “Container instances”:
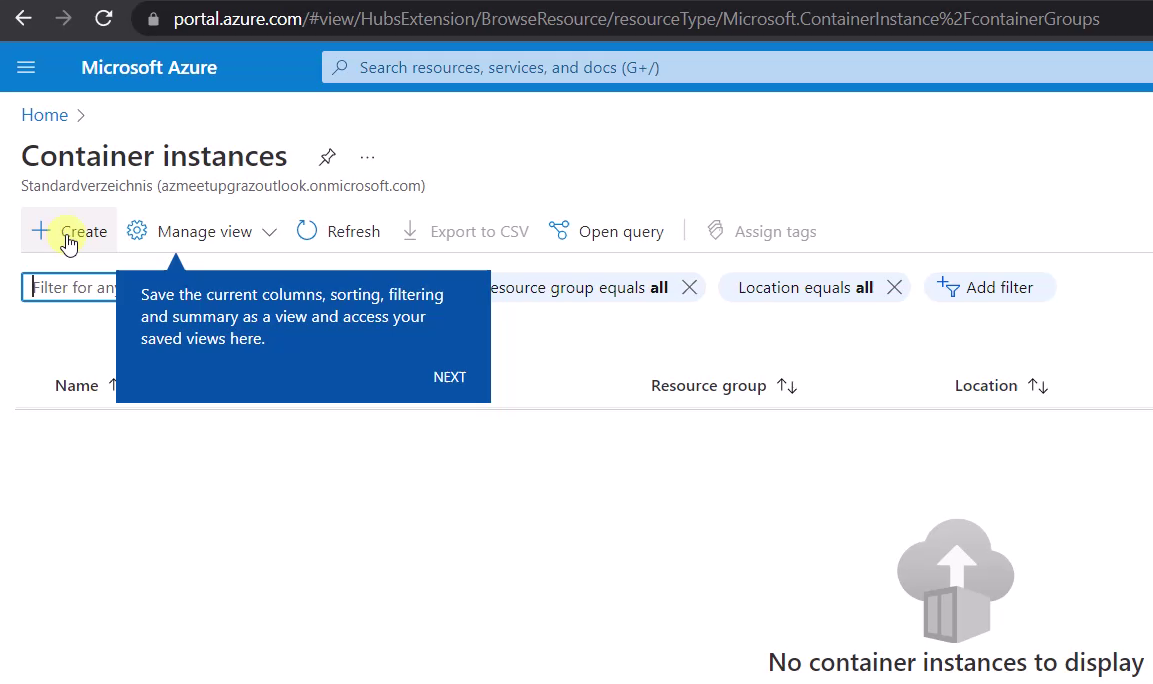
Select “create”:
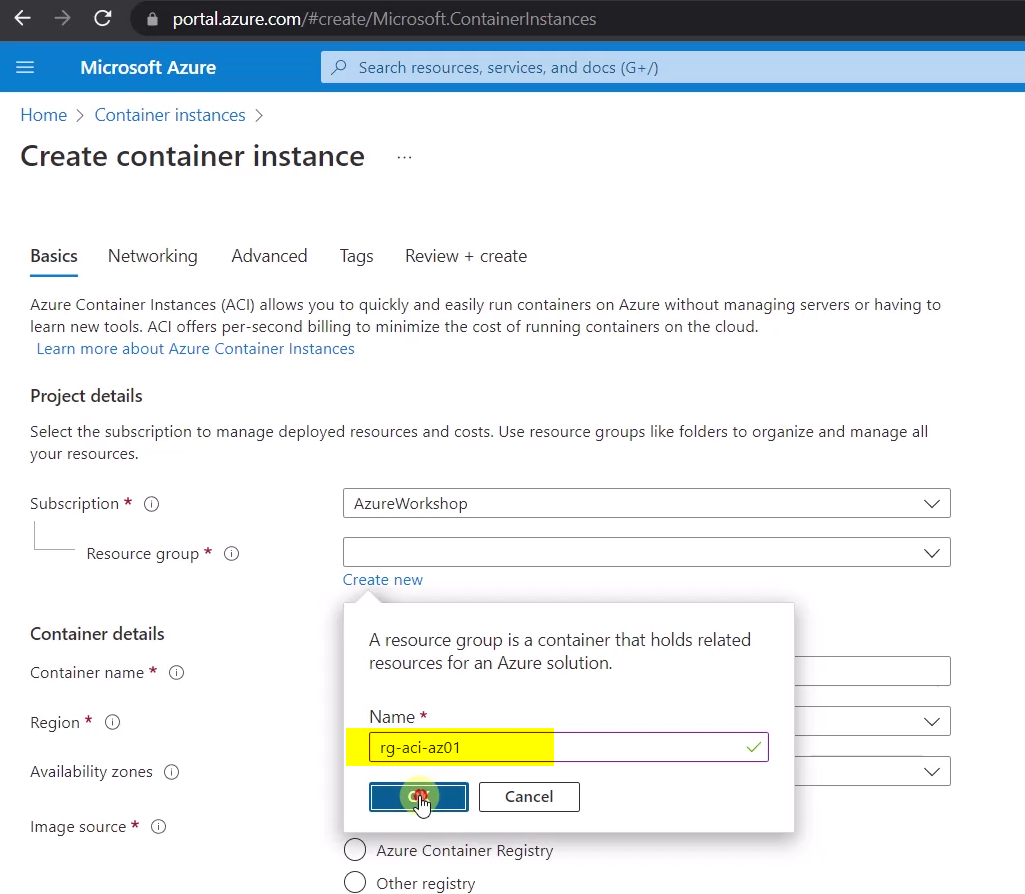
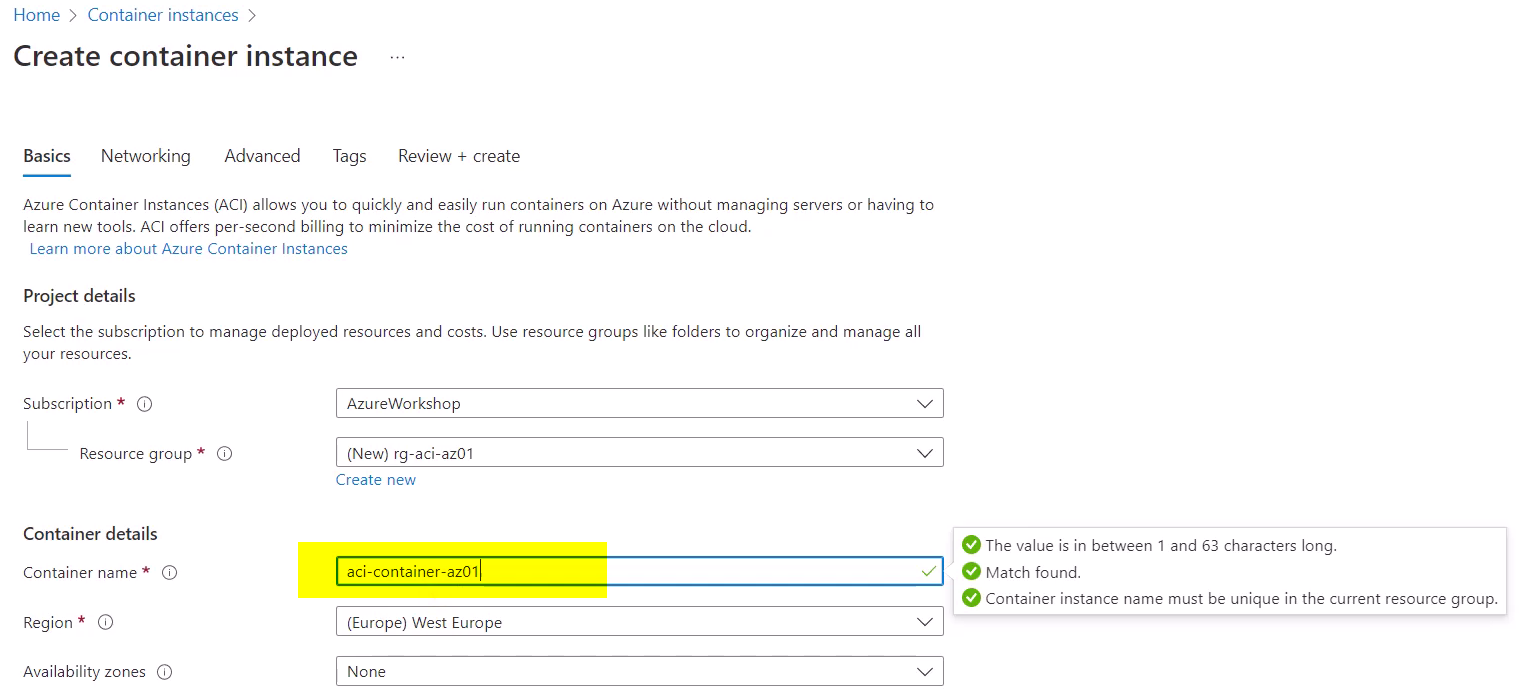
The Azure Container Instance can be defined in this form. Create a new “Resource group”:

Name it like “rg-aci-azXX”: replace the “XX” with your “az” number:
Provide a name for the Container: name it like “aci-container-azXX” - replace the “XX” with your “az” number.
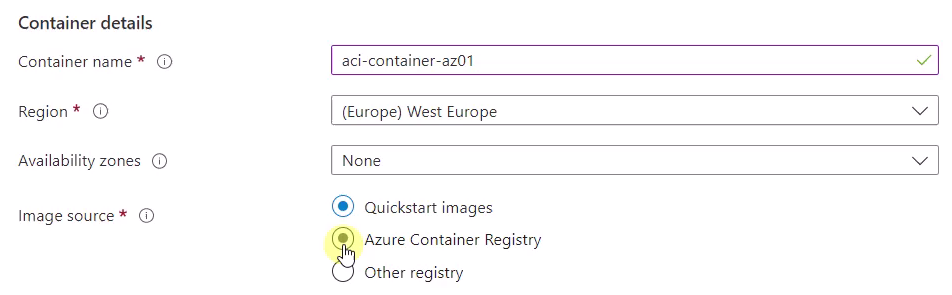
Choose “Azure Container Registry” as source for the image:
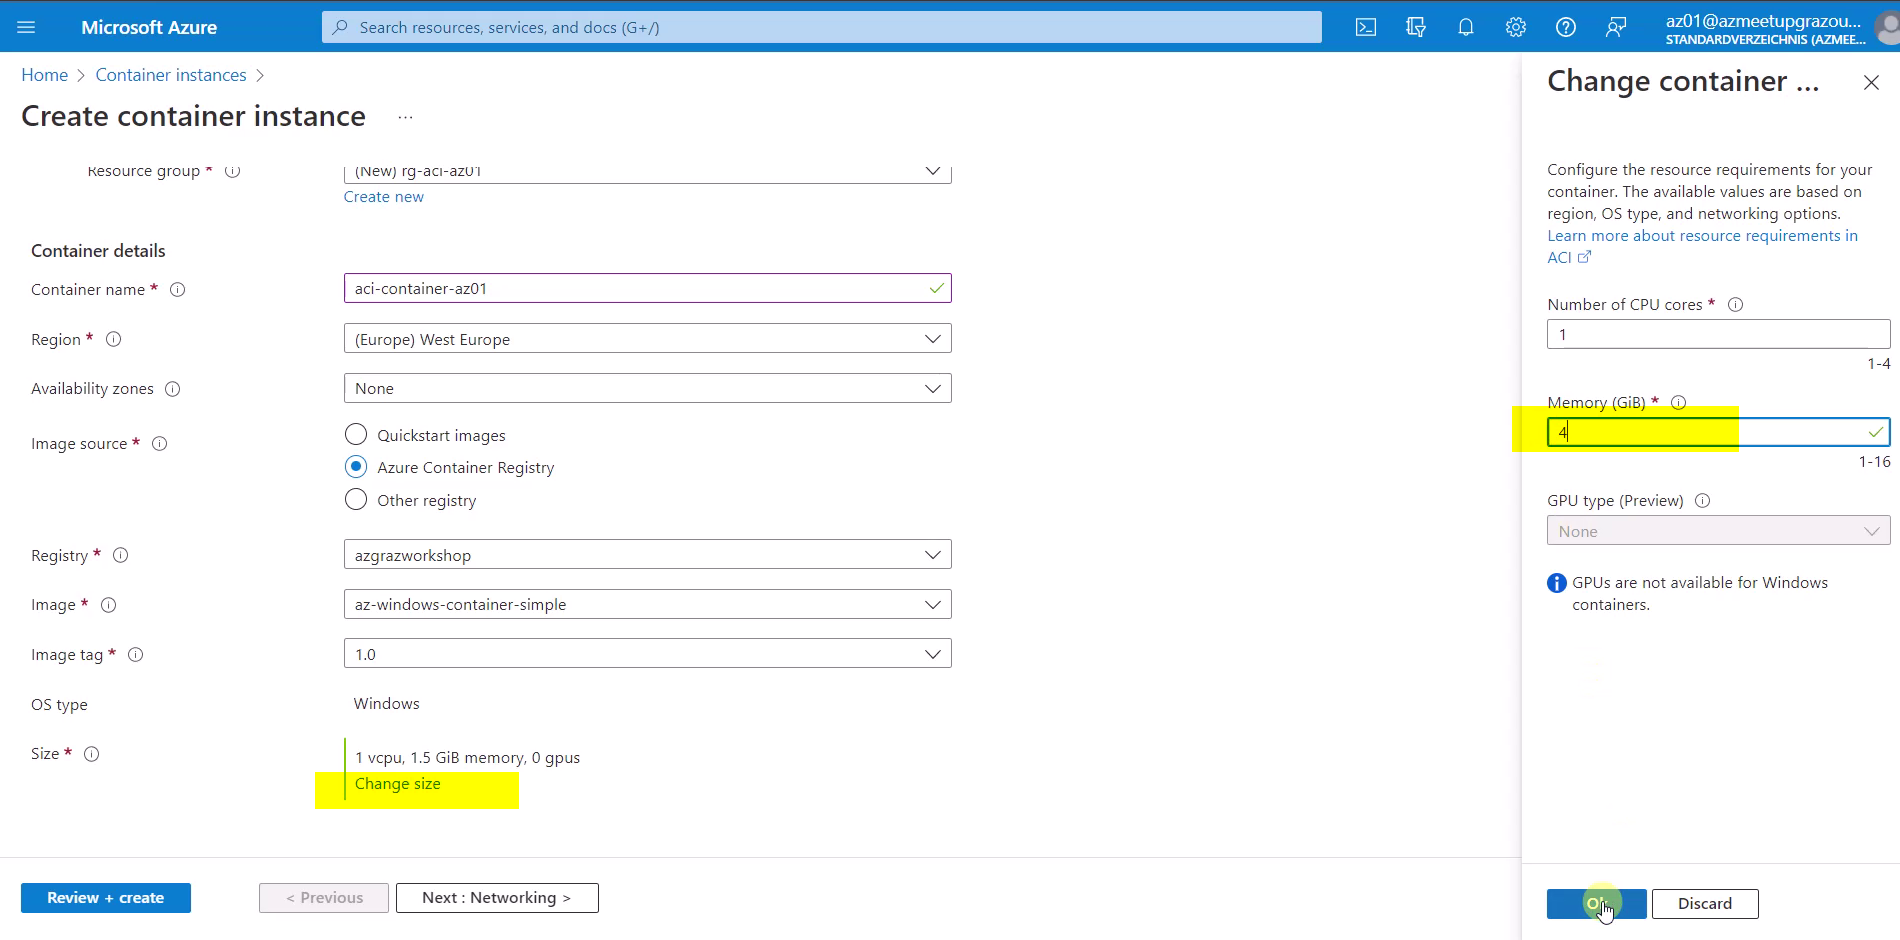
Verify, that following settings are done:

Change the size and set 4 GiB as memory - confirm it with “OK”:
Finally, click at “Review + create”:

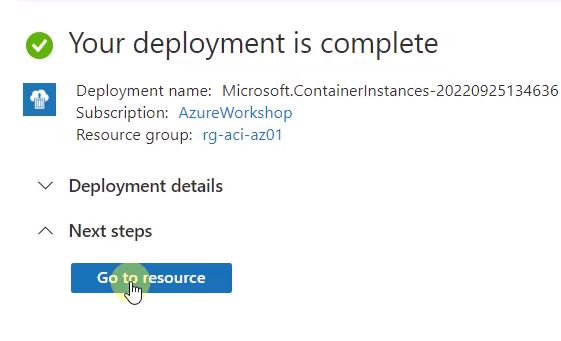
Wait until the deployment is complete:
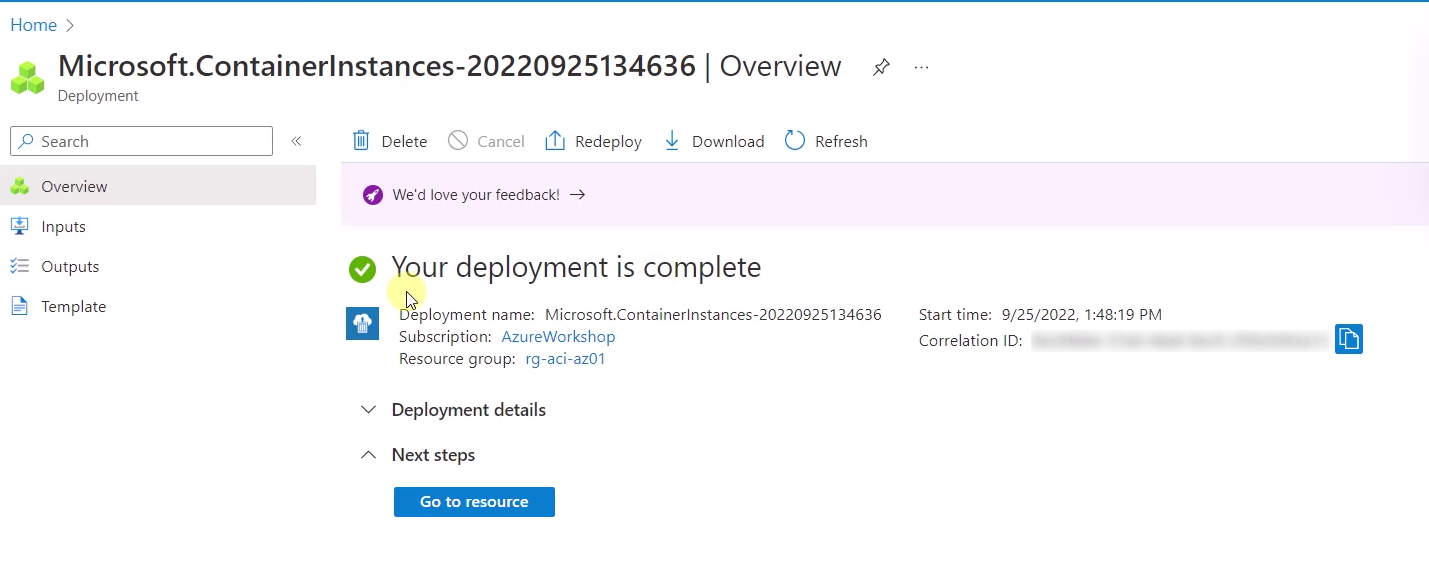
Click at “Go to resource”:
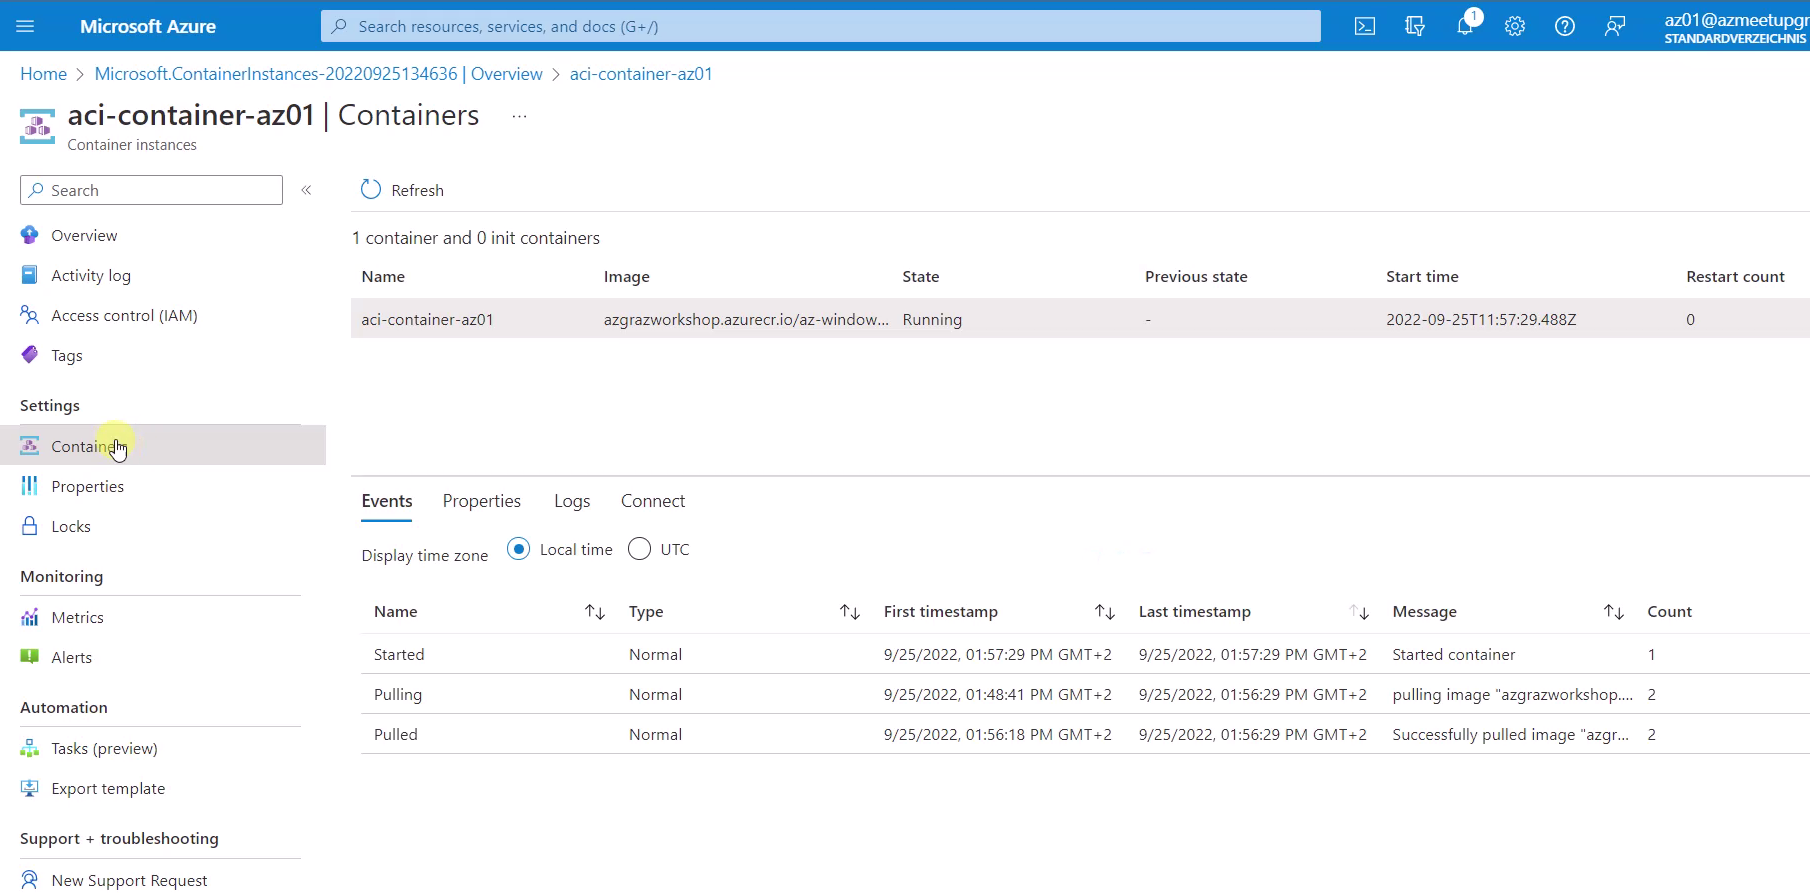
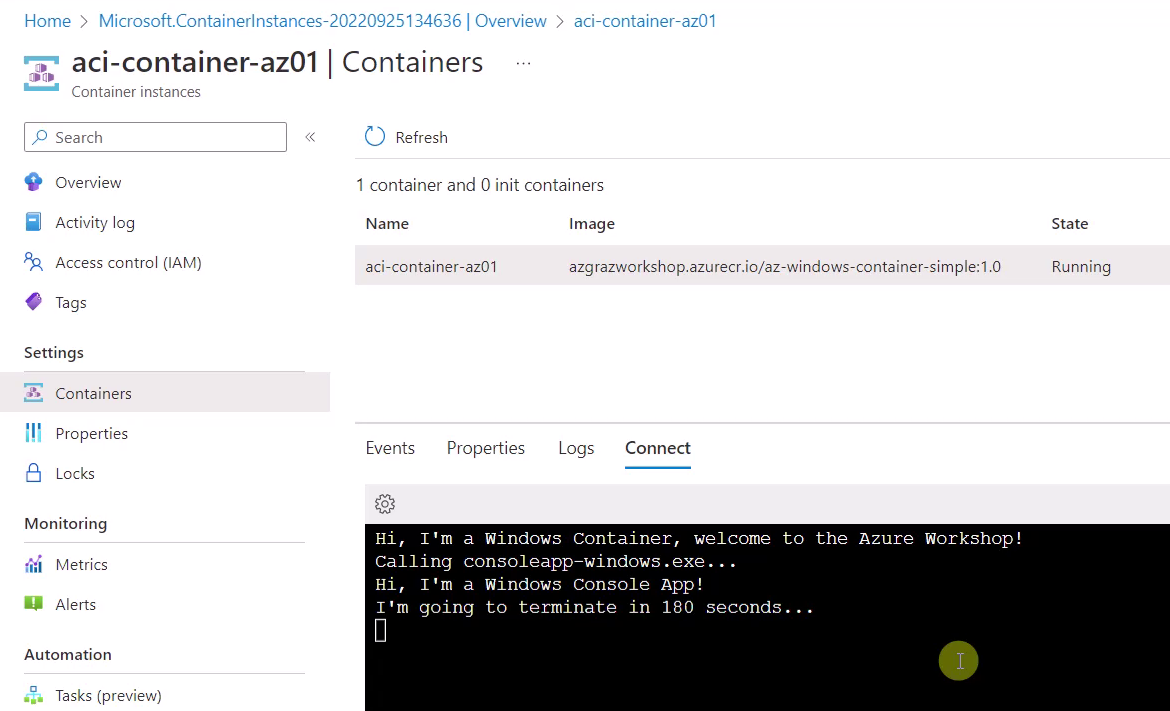
Click at “Containers” - this show the running Container:
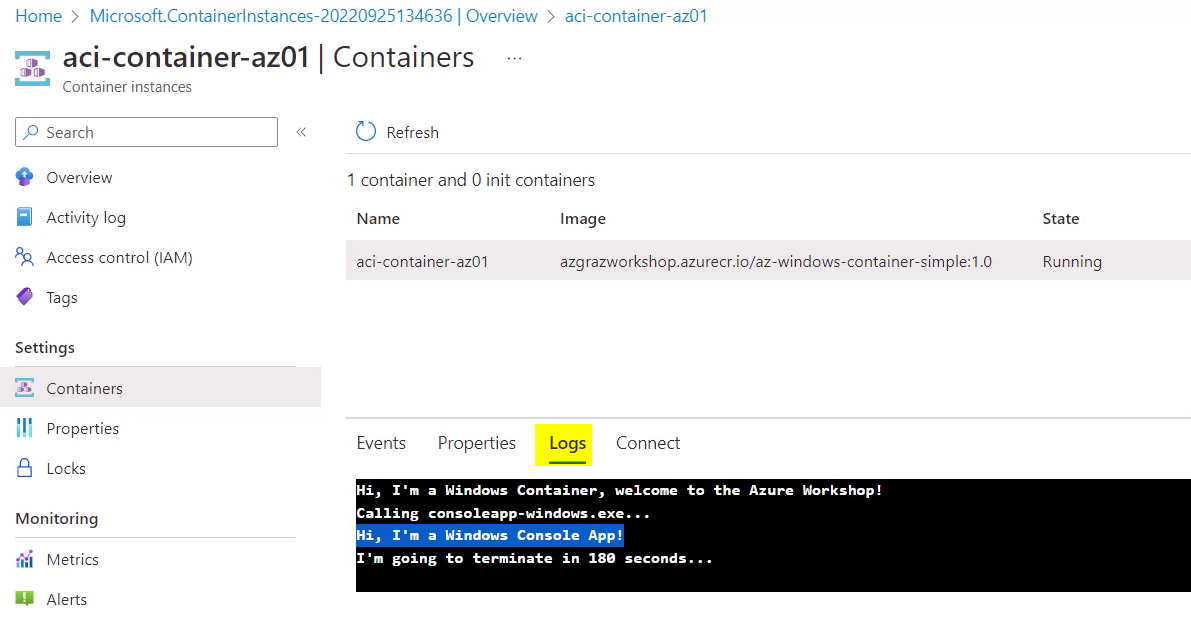
Click at “Logs” for showing the output:
Click at “Connect” and insert “cmd” for accessing the Container:
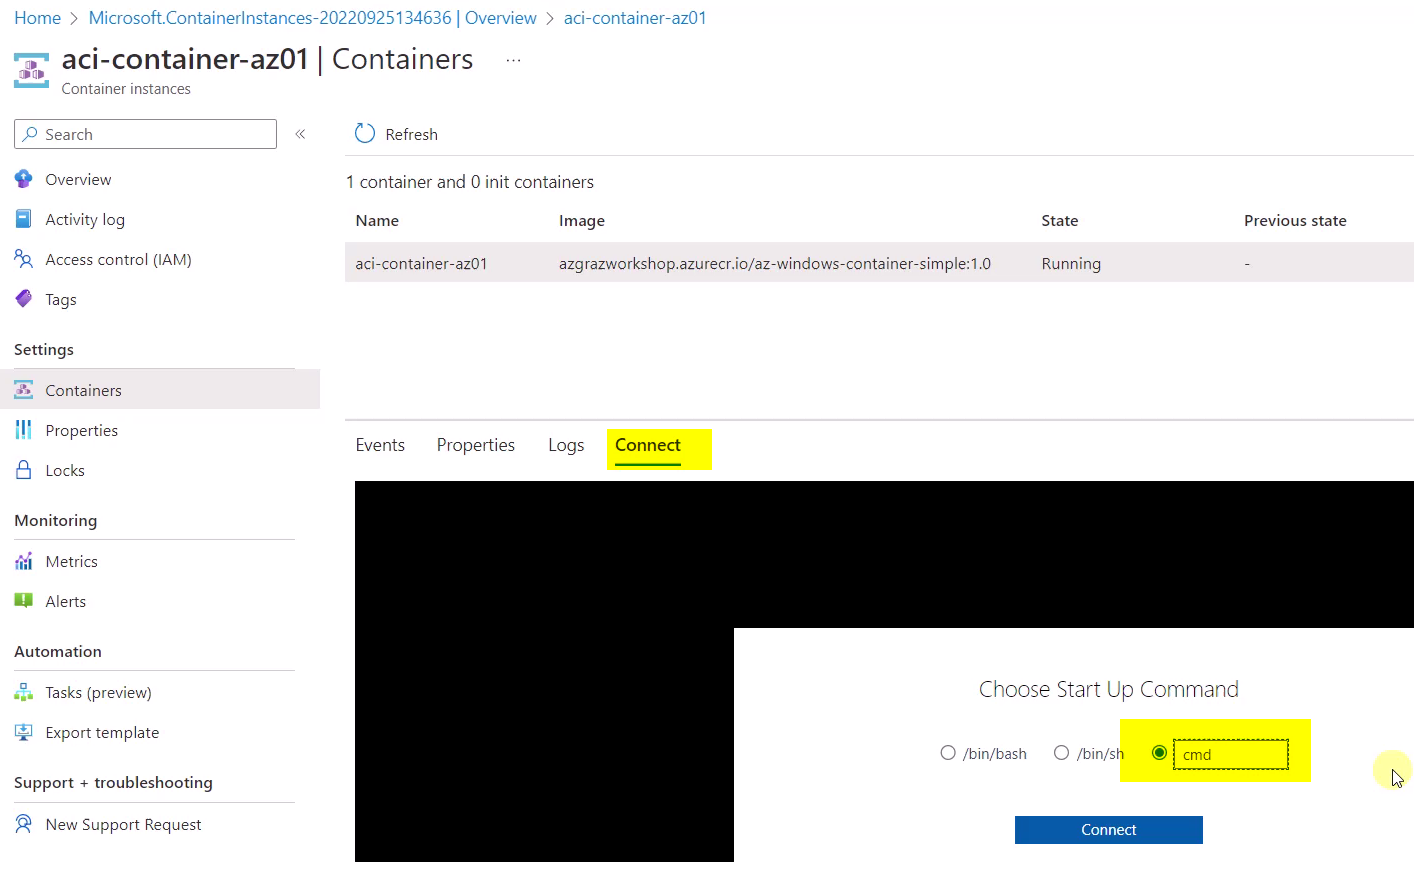
The attachment to the Container is done:
5. How to arrive
If you’d like to arrive by using public transport, take line 6 (Smart City) get out at “Dreierschützengasse/Helmut-List-Halle” and follow the way of the blue dotted line:
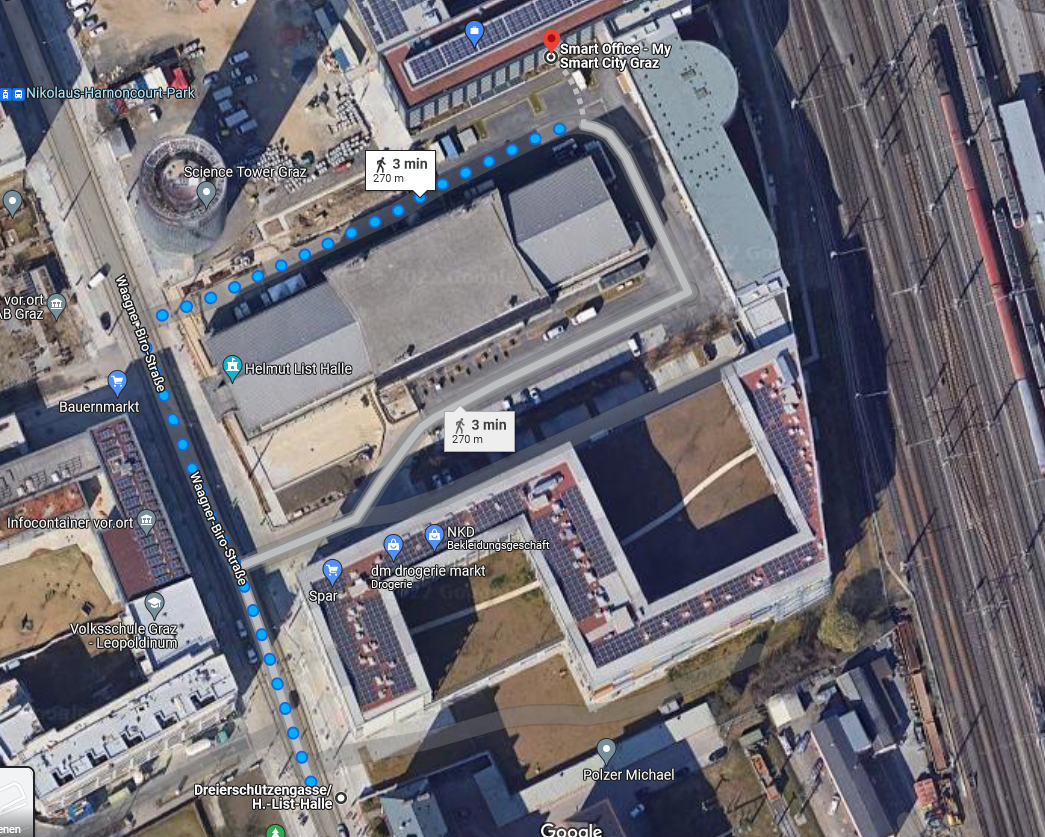
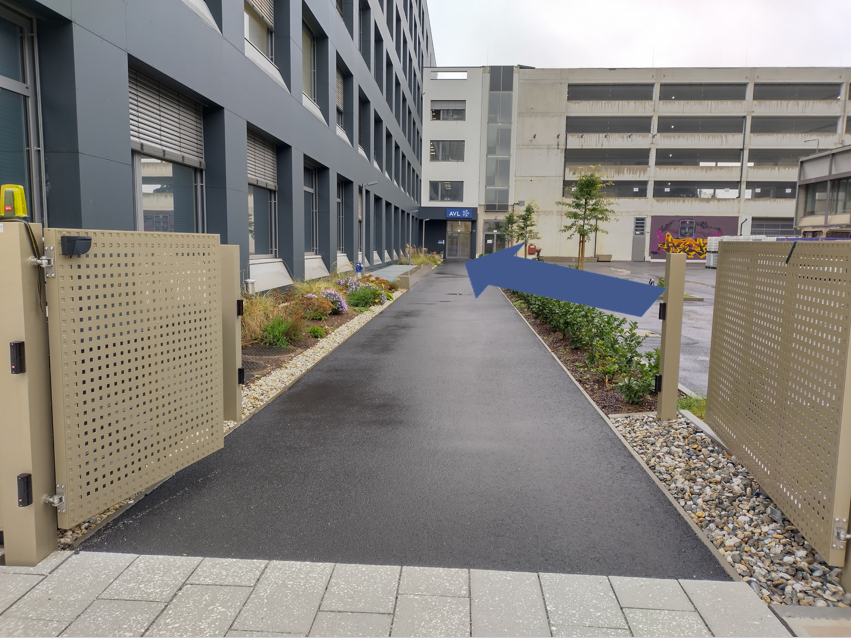
Just go straight forward and pass the gate:

We’ll meet us at the door below the “AVL” icon. There you’ll get your access card for entering the building: